Why choose live chat?
Nowadays, potential customers want to contact you on their terms. Live chat allows your visitors to ask a question in real time at a time that is convenient for them. This is your chance to start a personal conversation, build trust and turn your visitors into loyal customers.
About HubSpot Live Chat
Live chat is available in all HubSpot subscriptions, including the free version. The differences between subscriptions are mainly in:
-
The number of shared inboxes:
-
Free and Starter: 1 shared inbox.
-
Professional and Enterprise: up to 100 shared inboxes, ideal for creating a separate inbox for sales and support teams, for example.
-
Automatic assignment of chats:
Step 1: Create a Conversations Inbox.
Each live chat is associated with a Conversations Inbox. To do this, go to:

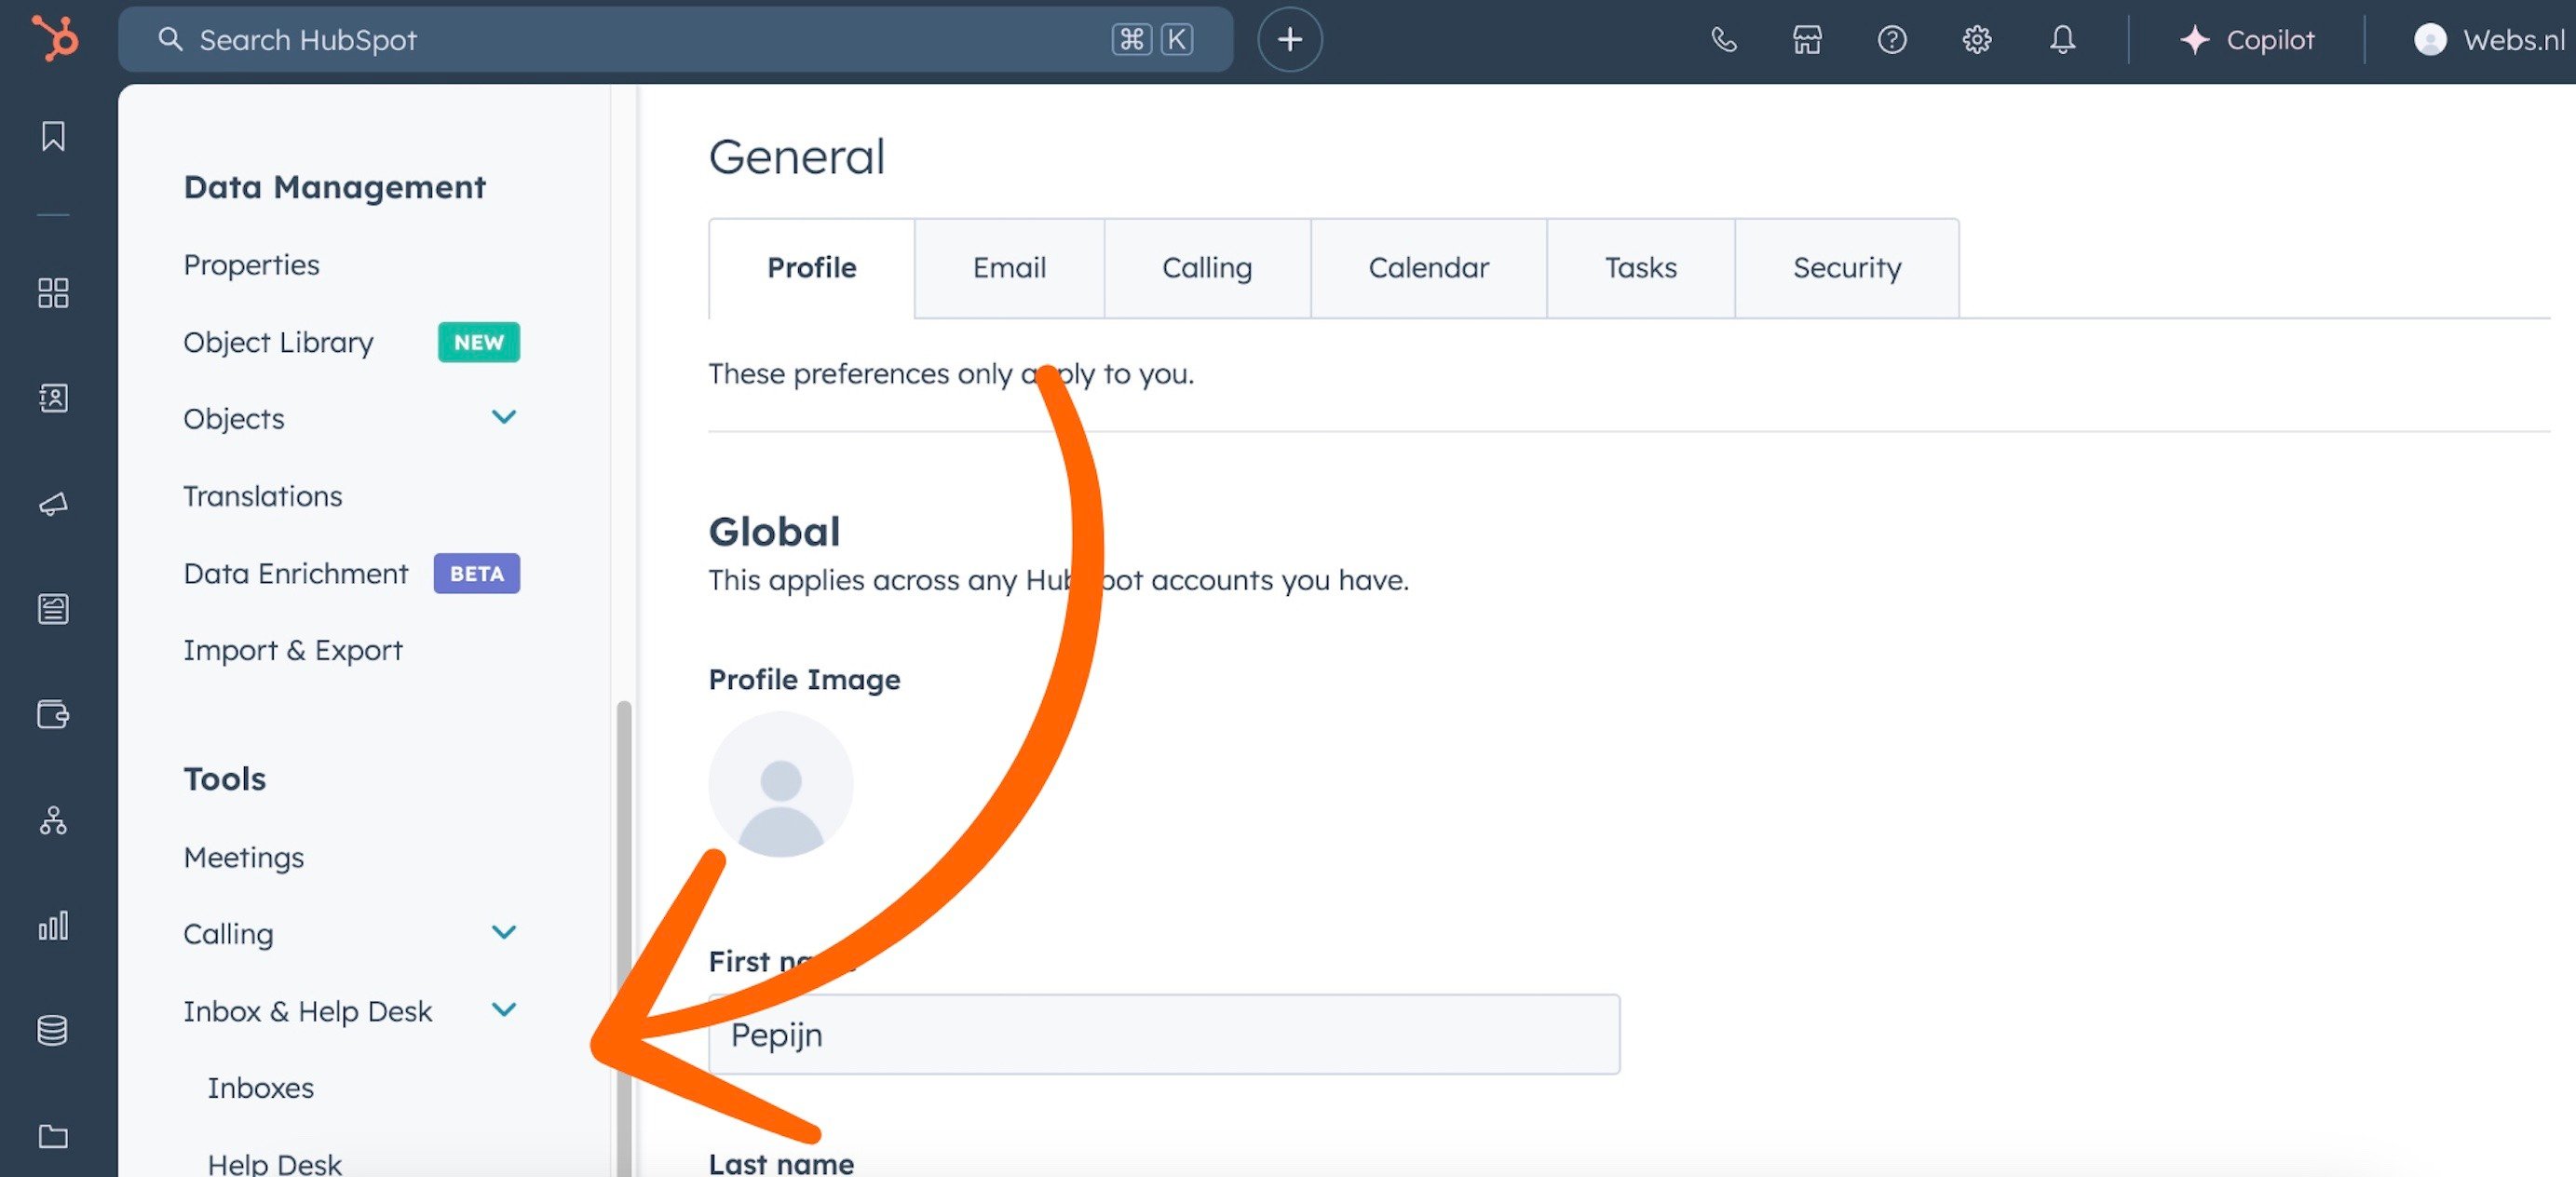
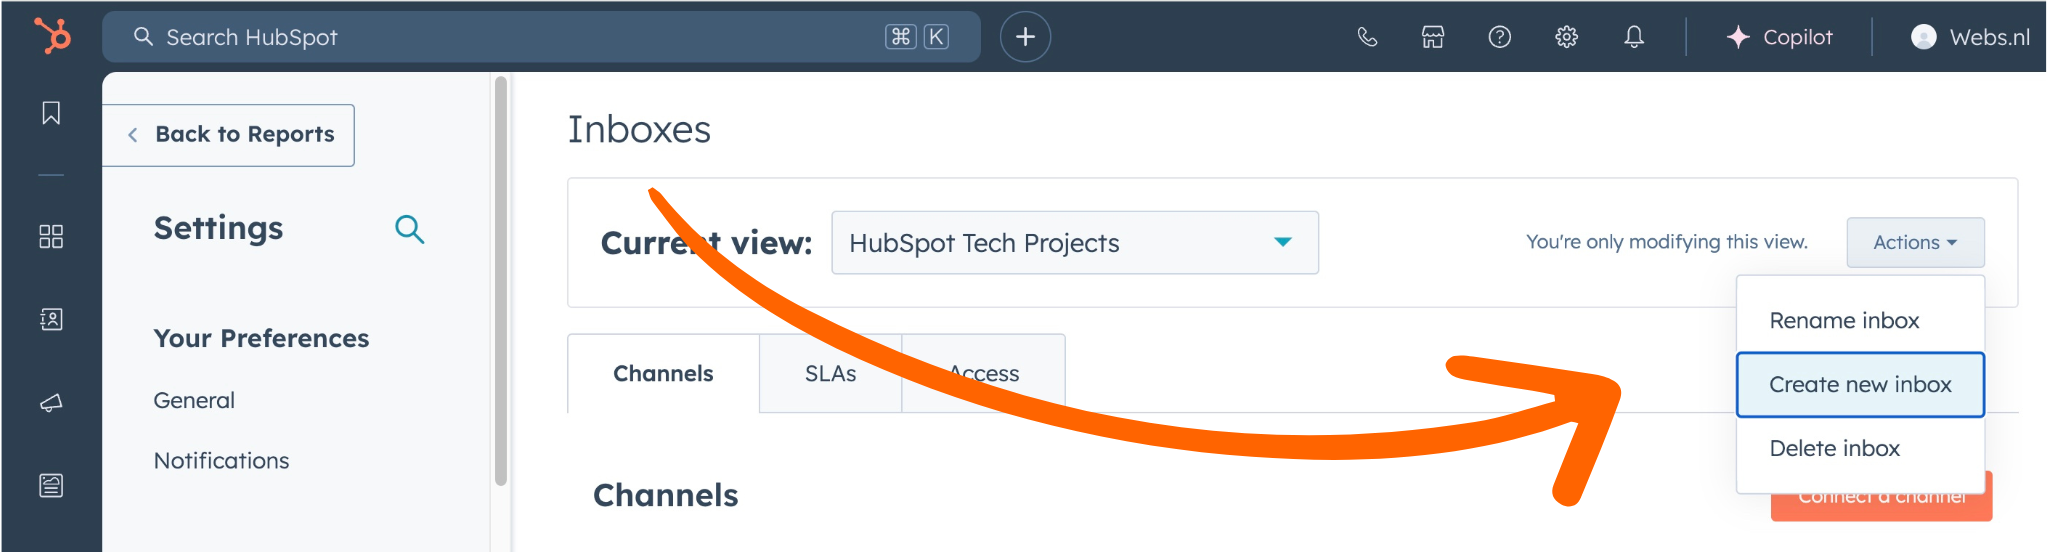
You can choose to make the inbox accessible to the entire team or specific users. Then link a new Chat Channel to this inbox.
Step 2: Choose a name and link to channel
1. Choose a name so you can easily find it.
 2. Link to a channel relevant to the action you want to perform. For Live Chat, choose 'Chat'.
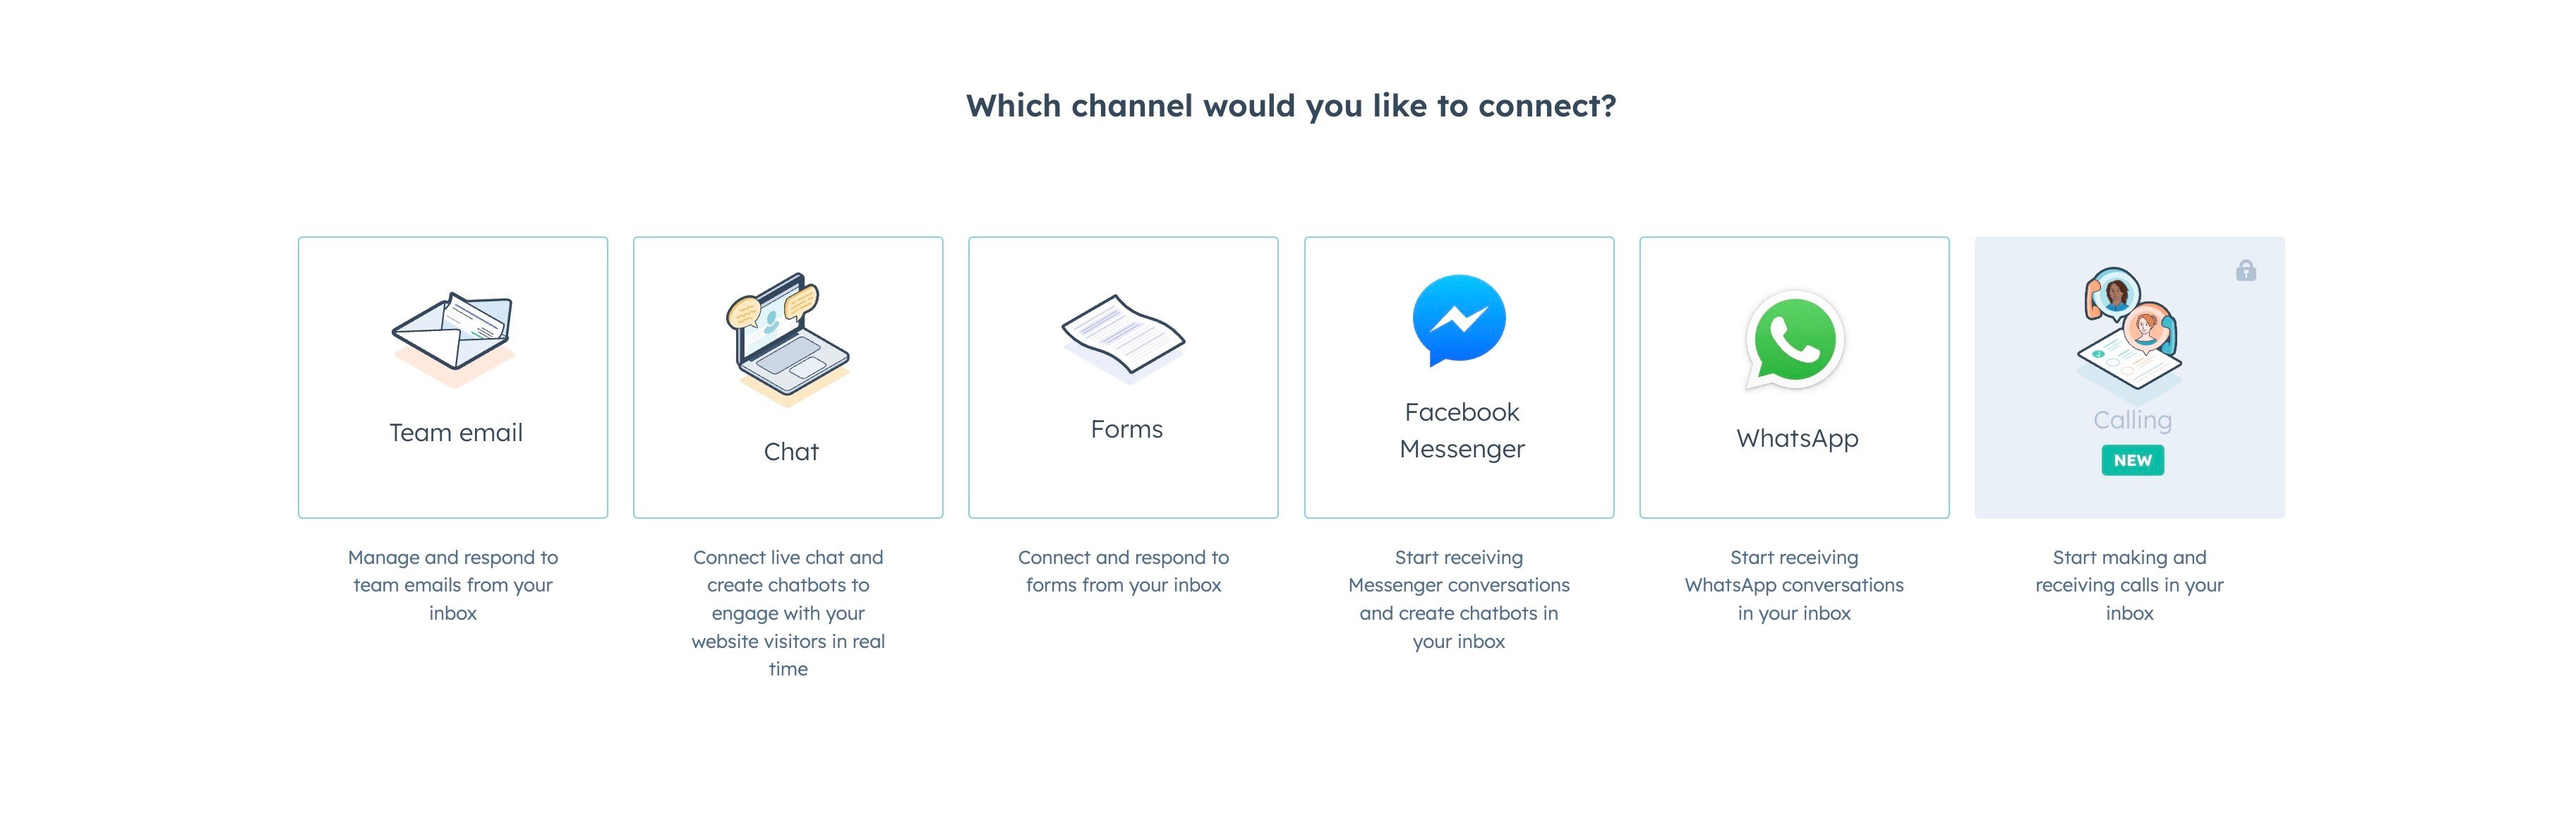
Step 3: Set up widget
1. Set the display of the widget based on your corporate identity.
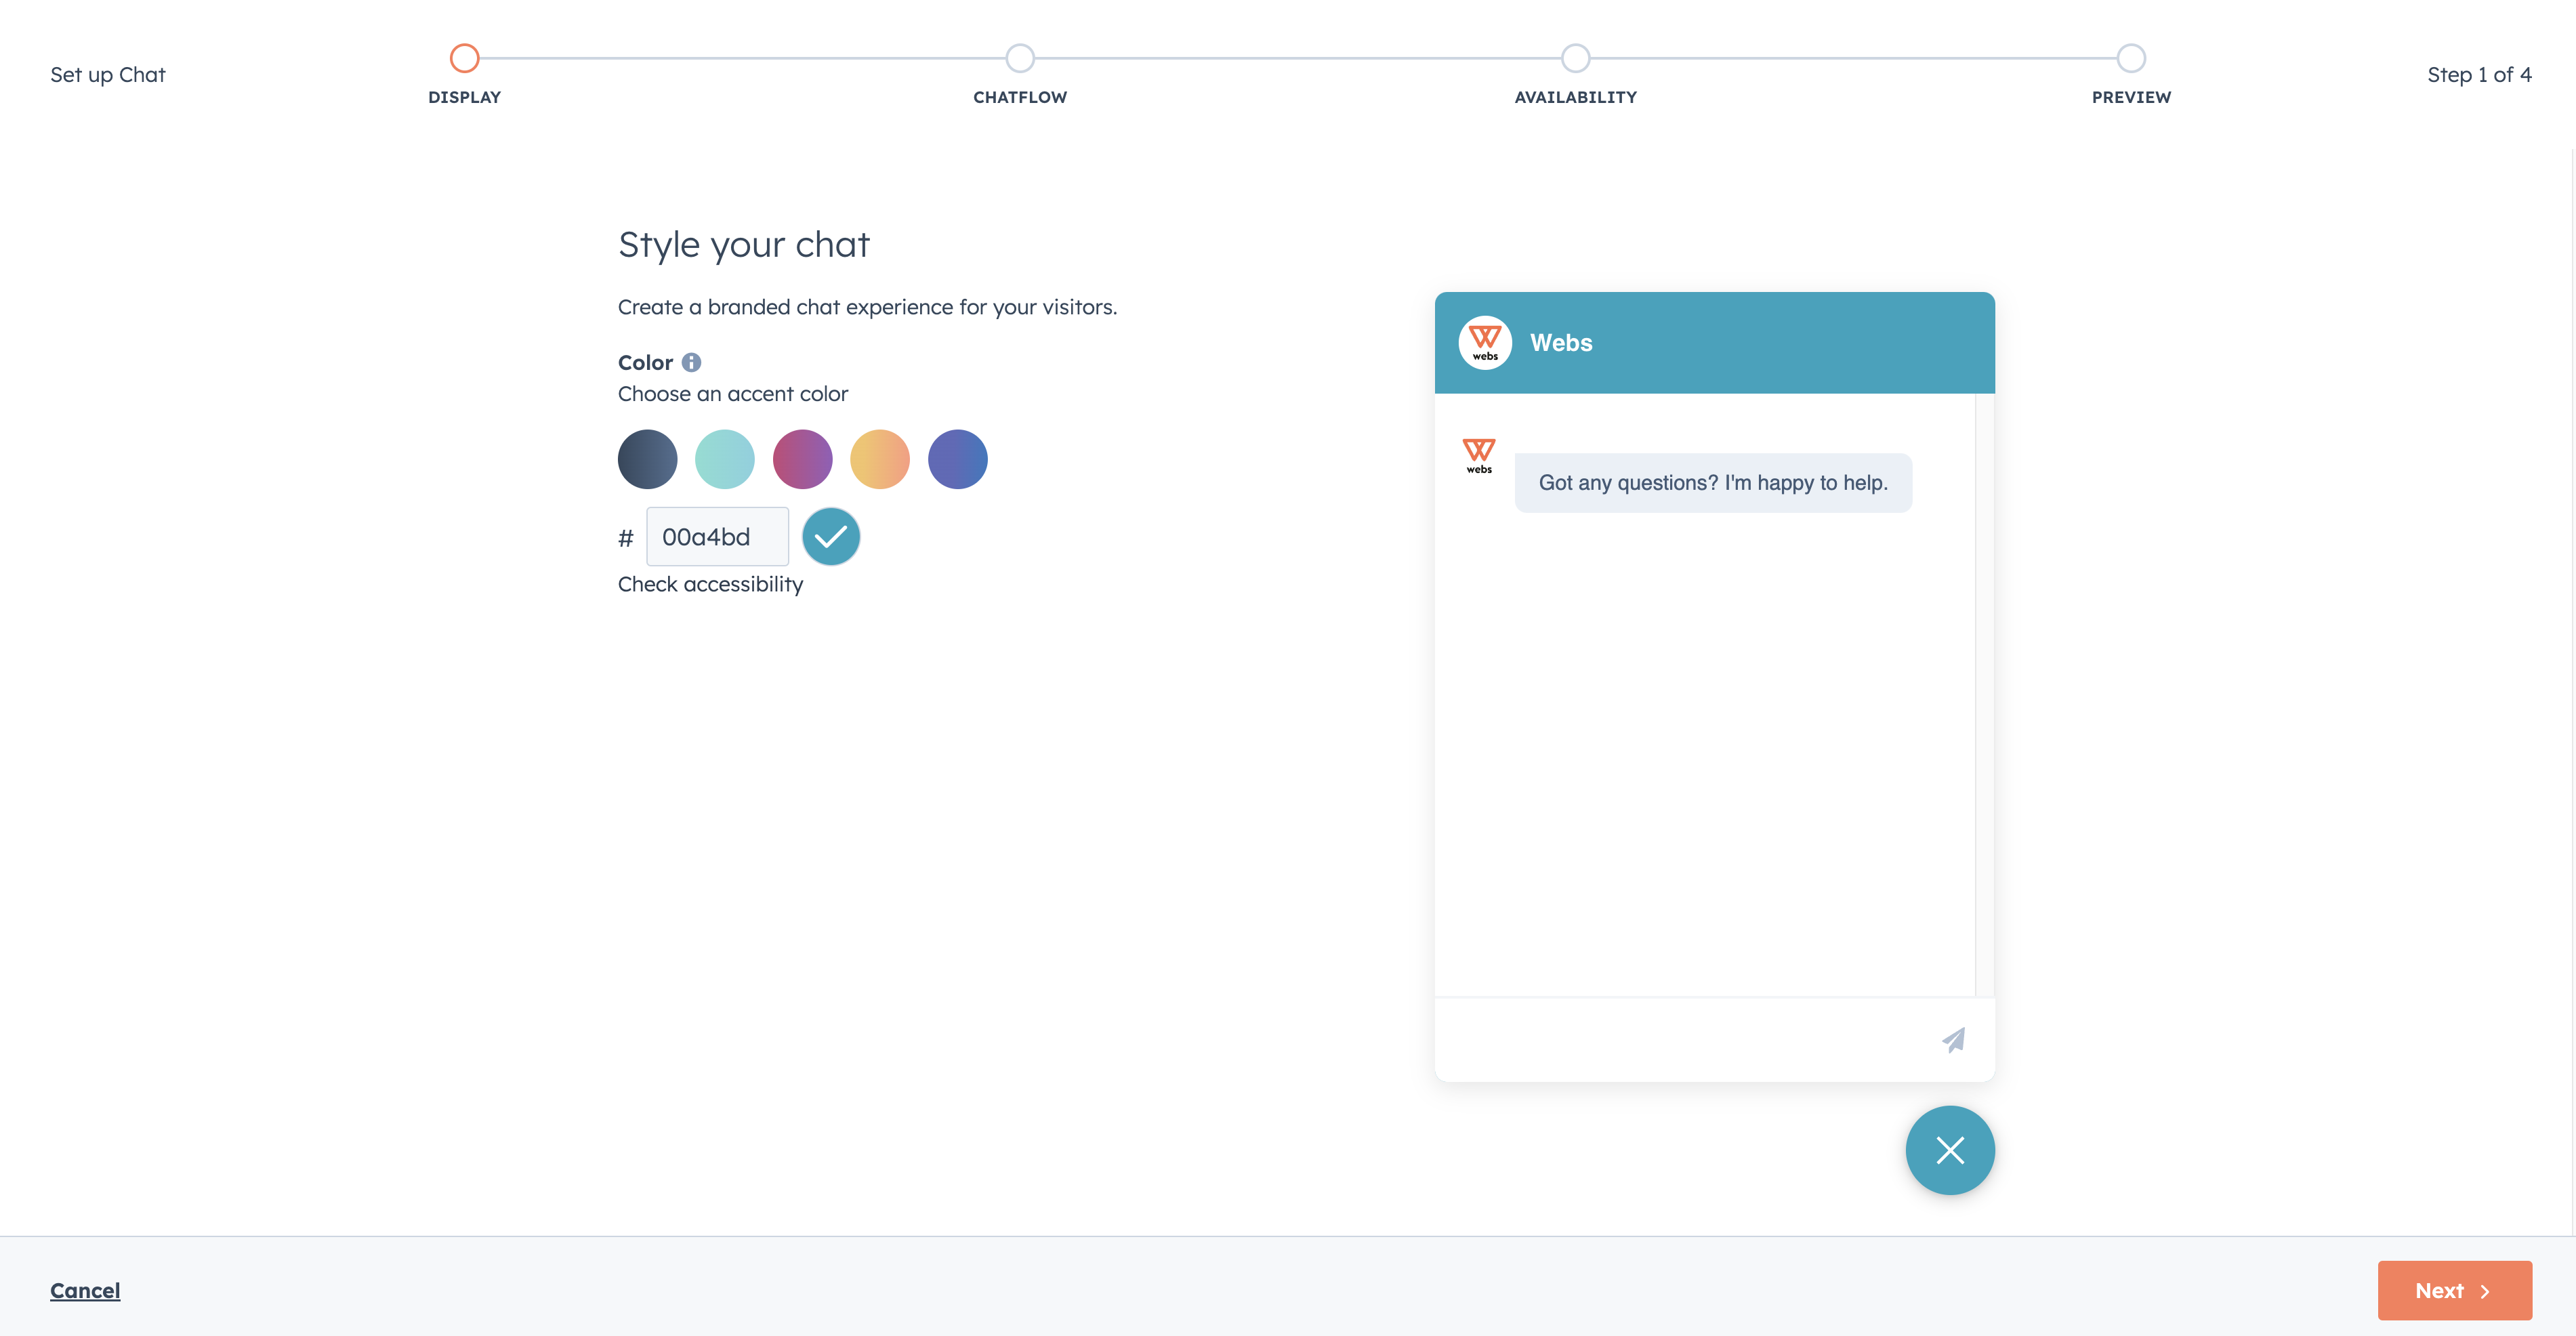
2. In Chatflow, you can easily set up the backend of the widget. Things like text, header but also who it will be referred to are possible in this step.
 Want to address your visitors directly? Then use smart content to display the welcome message or the contact owner's name for existing contacts. Read more about this in this HubSpot article.
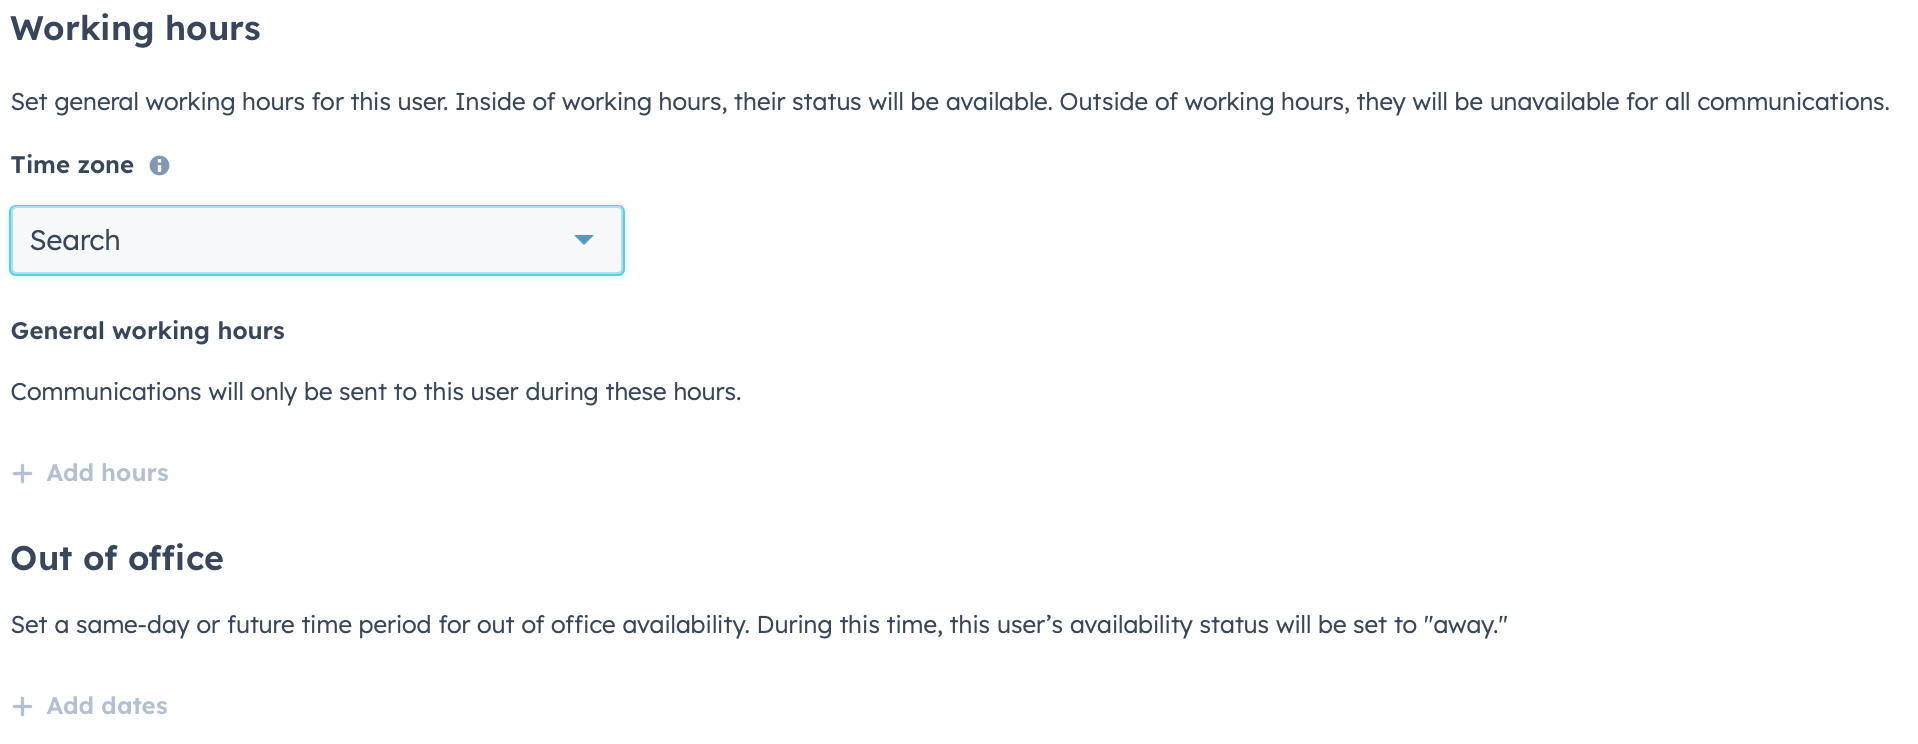
Step 4: Setavailability
Live chat is a powerful tool, but it only works if you can respond quickly to your visitors' questions. Therefore, make sure it's clear when you're available and what visitors can expect. You have several options for smartly setting up the availability of your live chat:
1. During office hours
Determine fixed days and times when your live chat is available. Set up automated messages to let visitors know when your team is online and when they can expect a response outside business hours. This way you keep expectations clear and avoid disappointment.
2. Based on Team Member Availability
Display live chat only when someone is actually available. As soon as at least one team member is online in the shared inbox, the chat becomes visible. For times when no one is available, you can choose: show an absence message or hide the chat altogether.
3. Always Available
Want to offer visitors 24/7 access? Make your live chat always available. Possibly combine this with a chatbot to automatically answer questions and collect data outside working hours.

Most importantly, always offer visitors clarity about your accessibility. A well-designed live chat not only makes for a better experience, but also for happier customers.
Step 5: Manage your own live chat status
If your team works with availability statuses, it's important that everyone manages their own status properly.
Away mode prevents new chats from being assigned to you, but you can still complete open calls.
Also on the go? In the HubSpot mobile app, you can easily change your status via More > Conversations.
Step 6: Manage and distribute chat conversations in the shared inbox
To manage Inboxes go to CRM > Inbox
Incoming conversations arrive in the shared inbox. This is divided into:
- All conversations: All conversations, including linked emails or other channels.
- Assigned to me: Conversations assigned to you.
- Unassigned: New conversations that have not yet been picked up.
- Chat: All conversations that have come out of the live chat widget.
Select a conversation from Unassigned and assign it to yourself or a colleague. You do this by clicking Assign at the top of the chat and selecting the appropriate user.
Step 7: Answer and complete conversations.
With the HubSpot inbox, both on your laptop and via the mobile app, you easily manage incoming chats. You immediately see relevant information about the contact in the right-hand panel, while you can type messages in the middle. HubSpot also provides handy tools to help your conversations run smoothly.
Convenient chat management features
1. Internal Notes.
Use the 'Comment' tab to share internal comments with your team. Tag a specific team member with an @ entry fortargeted communication. These comments remain visible only to your team and are not shared with the contact.
2. Share links and files
- Link icon: Share a link directly in the conversation.
- Paperclip icon: Add files from the HubSpot file manager or upload a file from your own device.
3. Additional HubSpot Tools.
The Insert button makes it easy to add other HubSpot functionality:
- Documents: Share a quote or presentation, for example.
- Snippets: Send preset default responses.
- Meeting Links: Send a link that allows the contact to directly schedule a meeting with you.
- Vidyard Videos: Share a personalized video to give your communication extra impact.
Completing Calls
When the conversation is finished, click 'Mark as closed' in the upper right corner of the chat window . This will close the conversation and save it conveniently. By default, a transcript of the chat is automatically sent to the contact, so they can always read back what was discussed.
With these tools and functionalities in HubSpot, you not only manage your live chat professionally, but also offer an efficient and personalized experience to your customers.
Additional tips: optimize your live chat
- Routing rules: Get calls automatically assigned based on region, department or other criteria (only available in paid seats).
- Follow-up: Use workflows to automate follow-up after a chat call.
- Reporting: Analyze the performance of your live chat, such as response times and customer satisfaction.
Getting started with HubSpot Live Chat
By smartly setting up and properly managing HubSpot Live Chat, you'll give your visitors a direct, personalized experience and increase the likelihood of new leads. Need help setting up or optimizing HubSpot Live Chat? Let us know, we're happy to help!